
Record your Mac screen, audio and camera
Learn to record your Mac screen with system audio, microphone narration and a camera overlay in MellowKit. Check permissions, review the recording, edit and export.
1. Decide what the recording needs
Choose the screen content you want to show, tidy your desktop and close unrelated notifications. Decide whether you need system audio, microphone narration and a camera overlay. Enable only the sources you need.
2. Check permissions and input devices
Screen capture, microphone access and camera access each need the corresponding macOS permission. Choose an available audio input and check the camera preview. System audio and microphone audio are separate sources; one enabled switch does not confirm that every track has sound.
3. Review the picture and sound
After recording, play back the important sections to check the screen, audio and camera content before trimming. External devices and macOS versions may behave differently; check the result from your actual recording setup.
4. Edit and export the finished video
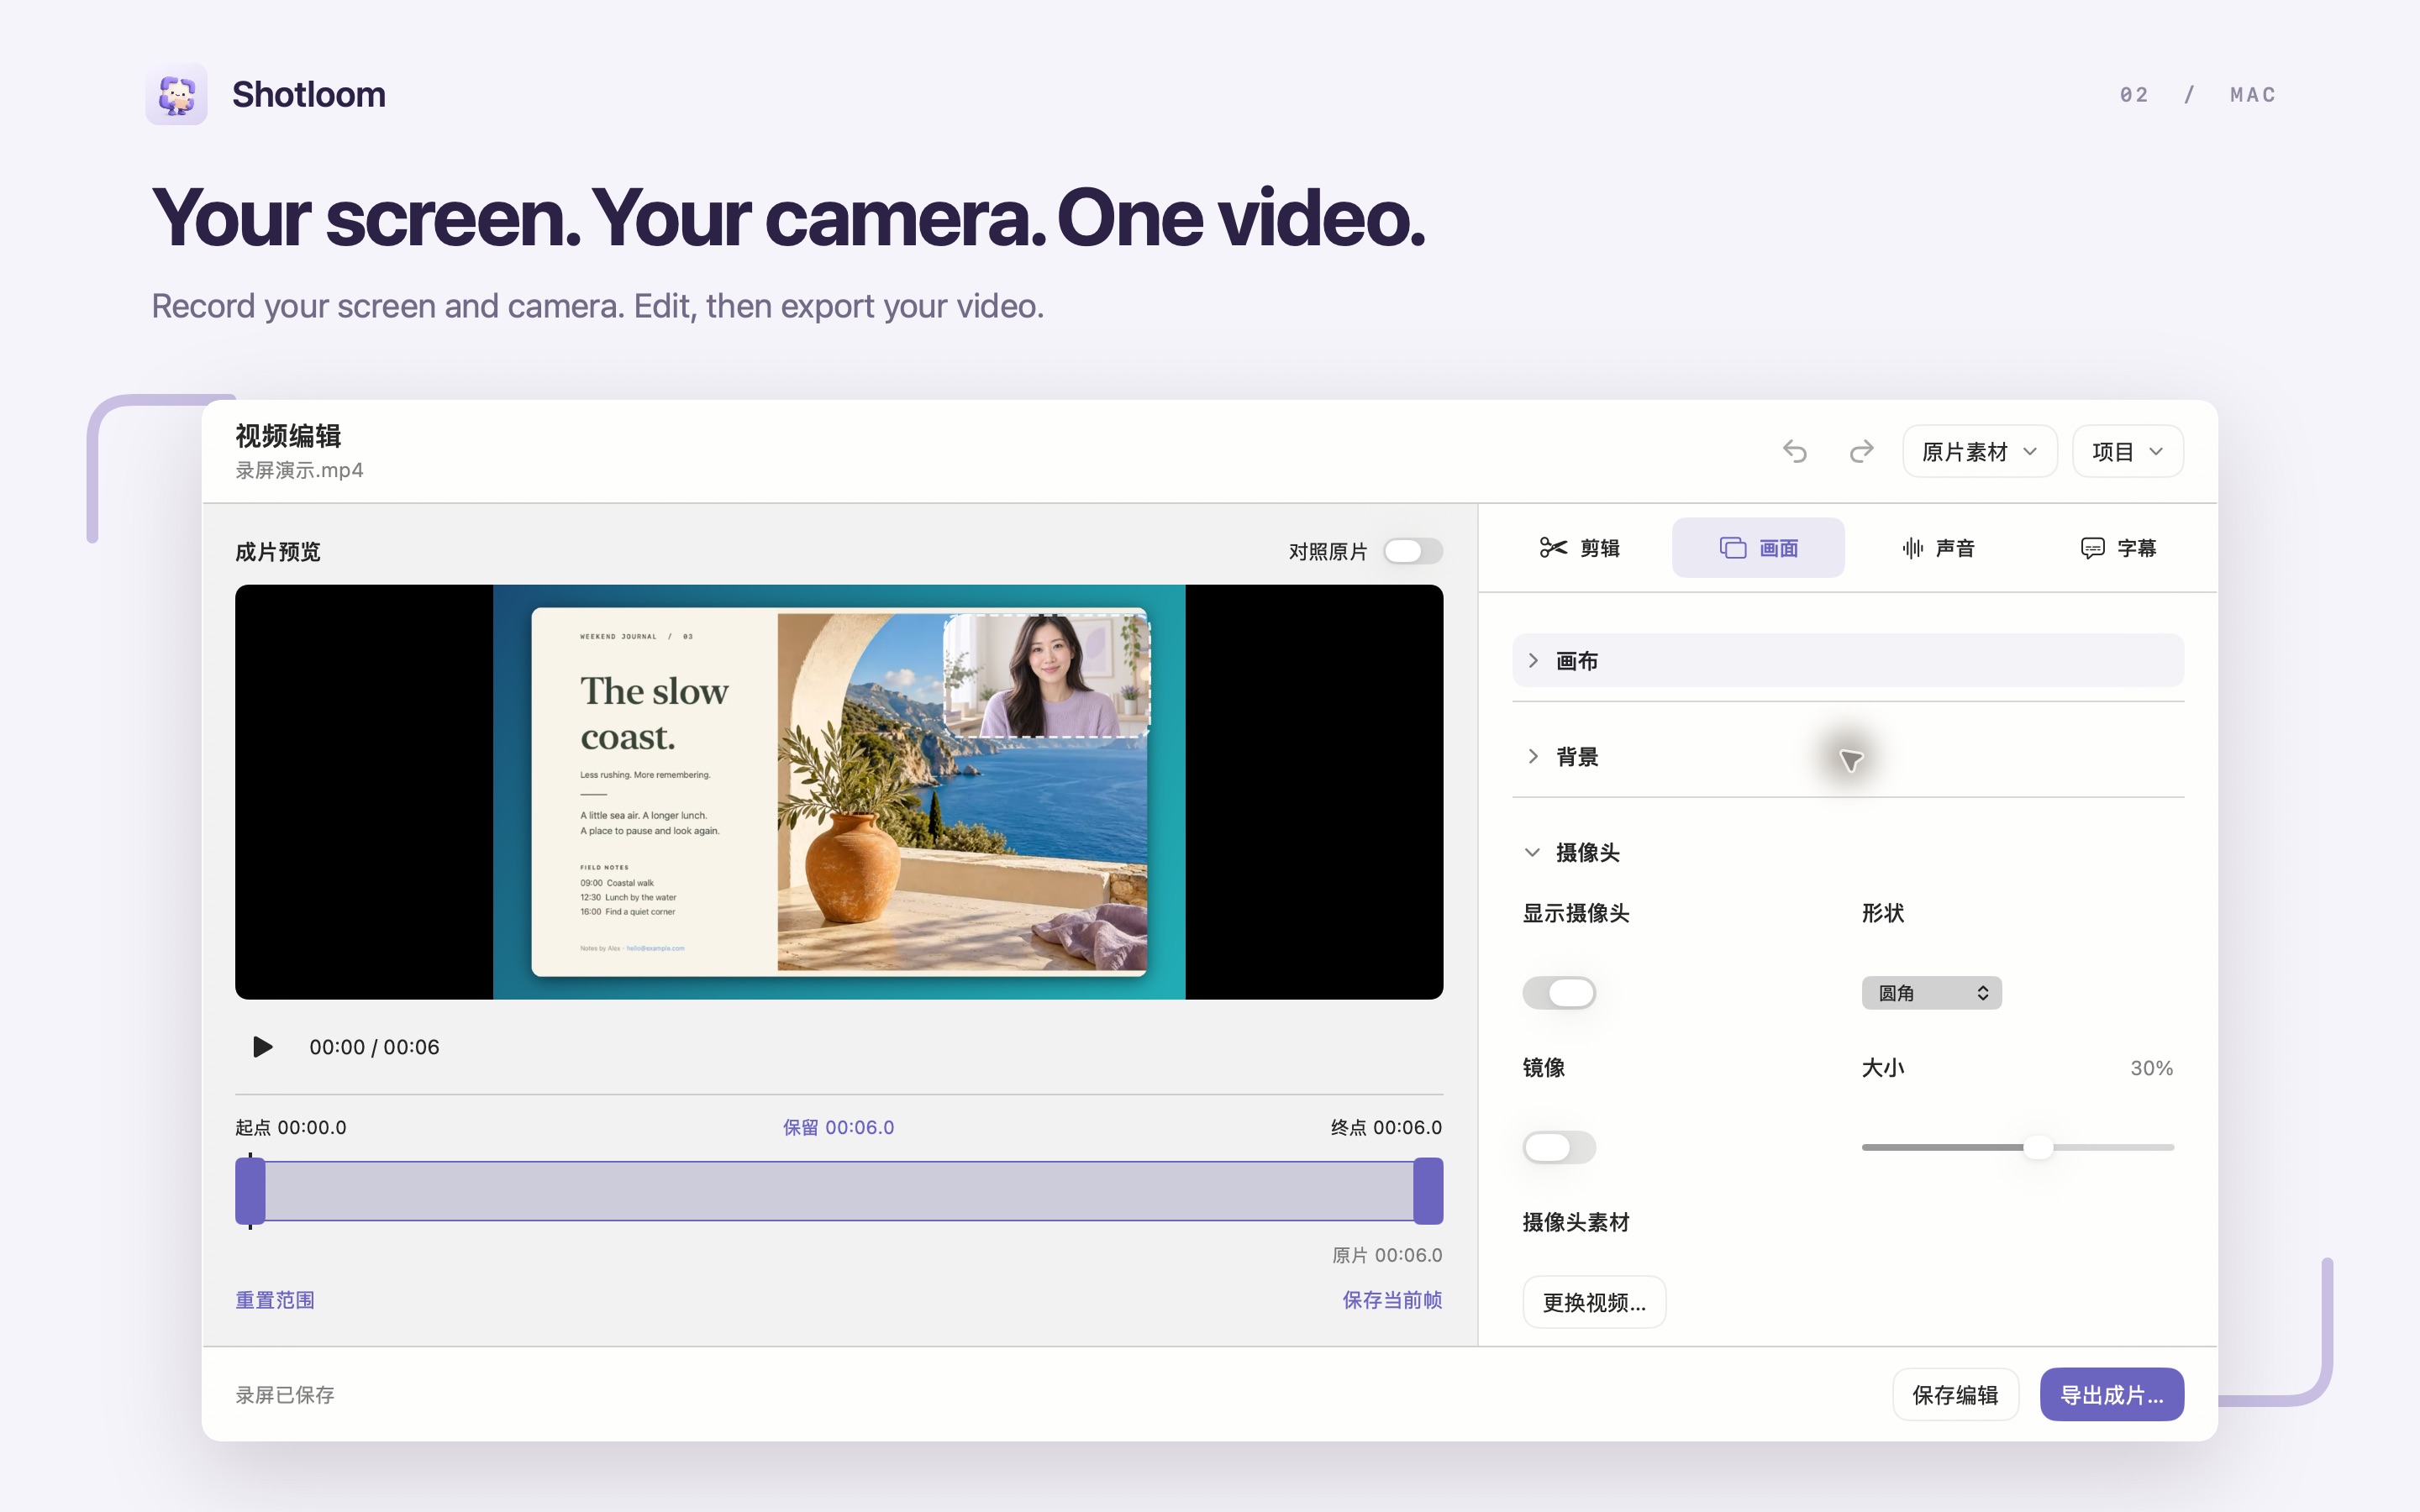
Trim unwanted sections and adjust the canvas, background, watermark and captions before exporting. Keep the screen source, camera material and project together. Export the finished video to include the camera composition; saving just the screen source does not include it. Optional speech transcription may need a first-use model download. Basic capture and editing do not require a model download.
Keep exploring
How to take a scrolling screenshot on Mac
The first Mac App Store release is being prepared. An official download link will be added after launch.